
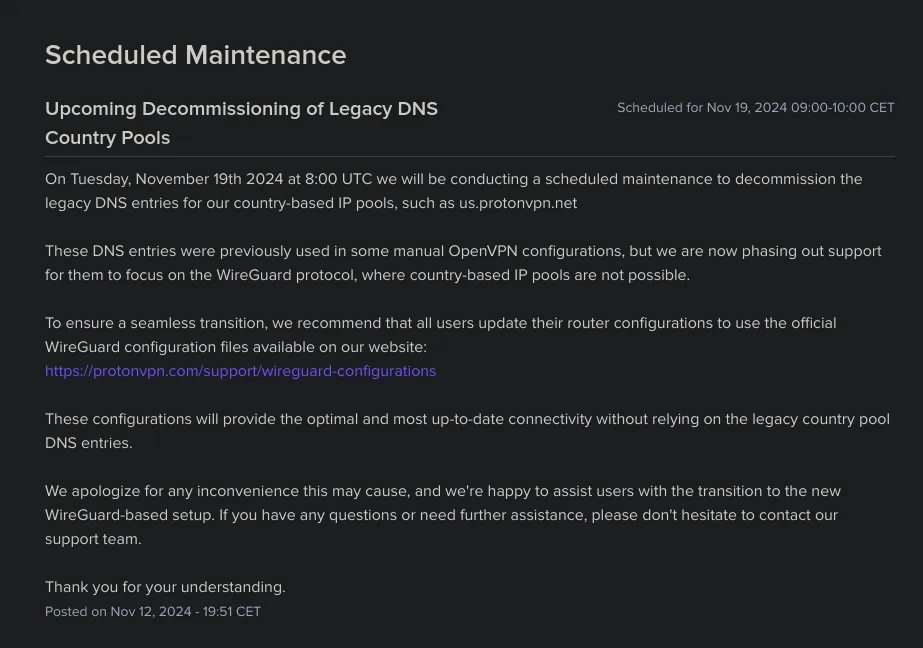
ProtonVPN recently announced they are decommissioning the legacy DNS entries for country-based IP pools like “us.protonvpn.net” which are used in older OpenVPN configuration profiles. If you’re using a newer profile, you’re likely using a fixed IP address instead, so this may not apply to you.
This change creates an issue for my setup. I use ProtonVPN with OpenVPN on my pfSense firewall, where I have a cron job that restarts the OpenVPN service according to the schedule I set. The cron job ensures that I get a new random IP address from ProtonVPN’s DNS pool each time the service restarts. However, with the removal of the legacy DNS pools, this option is no longer available.
ProtonVPN recommends switching to WireGuard, which offers better performance, security, and a more efficient codebase. However, the same issue persists with WireGuard: since your private key is tied to a specific ProtonVPN server, you won’t have the option to randomly rotate IPs. Instead, you’ll need to configure multiple tunnels in pfSense and switch between them manually.
To solve this problem, I’ve developed a simple solution for OpenVPN users relying on ProtonVPN’s DNS pools. I’ve created a Cloudflare Worker that is scheduled to run every minute, fetching a random row from a D1 SQL database and updating the “us.protonvpn” A record at corey.sh with the corresponding IP address. Currently, the IP addresses in the D1 database are manually populated using a script that queries Proton’s API and extracts the node IPs. In the near future, I plan to automate this process with an additional worker, ensuring that the database always contains up-to-date node information. This allows me to continue rotating IP addresses without disruption.
export default {
  async scheduled(event, env) {
    const { zoneId, recordId, authToken, vpnNodesDb, cloudflareEmail } = env;
    const cloudflareUrl =
     `https://api.cloudflare.com/client/v4/zones/${zoneId}/dns_records/${recordId}`;
    const queryRandomAddress =
     `SELECT * FROM protonVpnNodesUs ORDER BY RANDOM() LIMIT 1`;
    const vpnNodeUs = await vpnNodesDb.prepare(queryRandomAddress).first();
    const dateTime = new Date().toISOString();

    const requestData = {
      comment: `${dateTime}: Worker updated node address.`,
      name: "us.protonvpn",
      proxied: false,
      settings: {},
      tags: [],
      ttl: 60,
      content: vpnNodeUs.ipAddress,
      type: "A",
    };

    const headers = {
      "Content-Type": "application/json",
      "X-Auth-Email": cloudflareEmail,
      Authorization: `Bearer ${authToken}`,
    };

    await fetch(cloudflareUrl, {
      method: "PATCH",
      headers: headers,
      body: JSON.stringify(requestData),
    })
      .then((response) => response.json())
      .then((data) => console.log("Success:", data))
      .catch((error) => console.error("Error:", error));

},
};
If you’d like to replicate a similar setup and randomize your OpenVPN connections, you can configure it by following these instructions. This guide assumes that OpenVPN is already set up on your firewall and configured to use ProtonVPN.
Navigate to VPN > OpenVPN > Clients. Select your Client and input the following information.
us.protonvpn.corey.shtun-mtu 1500;
tun-mtu-extra 32;
mssfix 1450;
reneg-sec 0;
remote-cert-tls server;
remote us.protonvpn.corey.sh 80;
remote us.protonvpn.corey.sh 5060;
remote us.protonvpn.corey.sh 4569;
remote us.protonvpn.corey.sh 51820;
To set up a cron job on your pfSense firewall, you’ll first need to install the ‘cron’ package. You can do this by navigating to System > Package Manager > Available Packages, then searching for ‘cron.’ Once the package is installed, go to Services > Cron and create a new cron schedule.
Configure the schedule according to your preferences, and for the command, enter the following:
/usr/local/sbin/pfSsh.php playback svc restart openvpn client 3Be sure to replace the ‘3’ with the appropriate client number for your setup. In my case, ‘3’ corresponds to the third OpenVPN client configured on the firewall.
While I plan to switch to WireGuard, this setup provides a reliable temporary solution that anyone can use in the meantime.
I’ve moved the cloudflare worker to this Github repository: https://github.com/q0r3y/protonvpn-dns